
User Guide
Standard Editor
User Guide
Our Free-Hosting forums make use of the standard phpBB message editor.
This is a text editor that uses special BBCode commands to format the text. You only see BBCodes instead of the formatted text, etc. as you write the message.
Use the 'Preview' button to obtain a preview of the text you have written before posting.
The following image demonstrates the formatting commands. You first see the preview with the formatted text and then the text with the BBCode formatting:
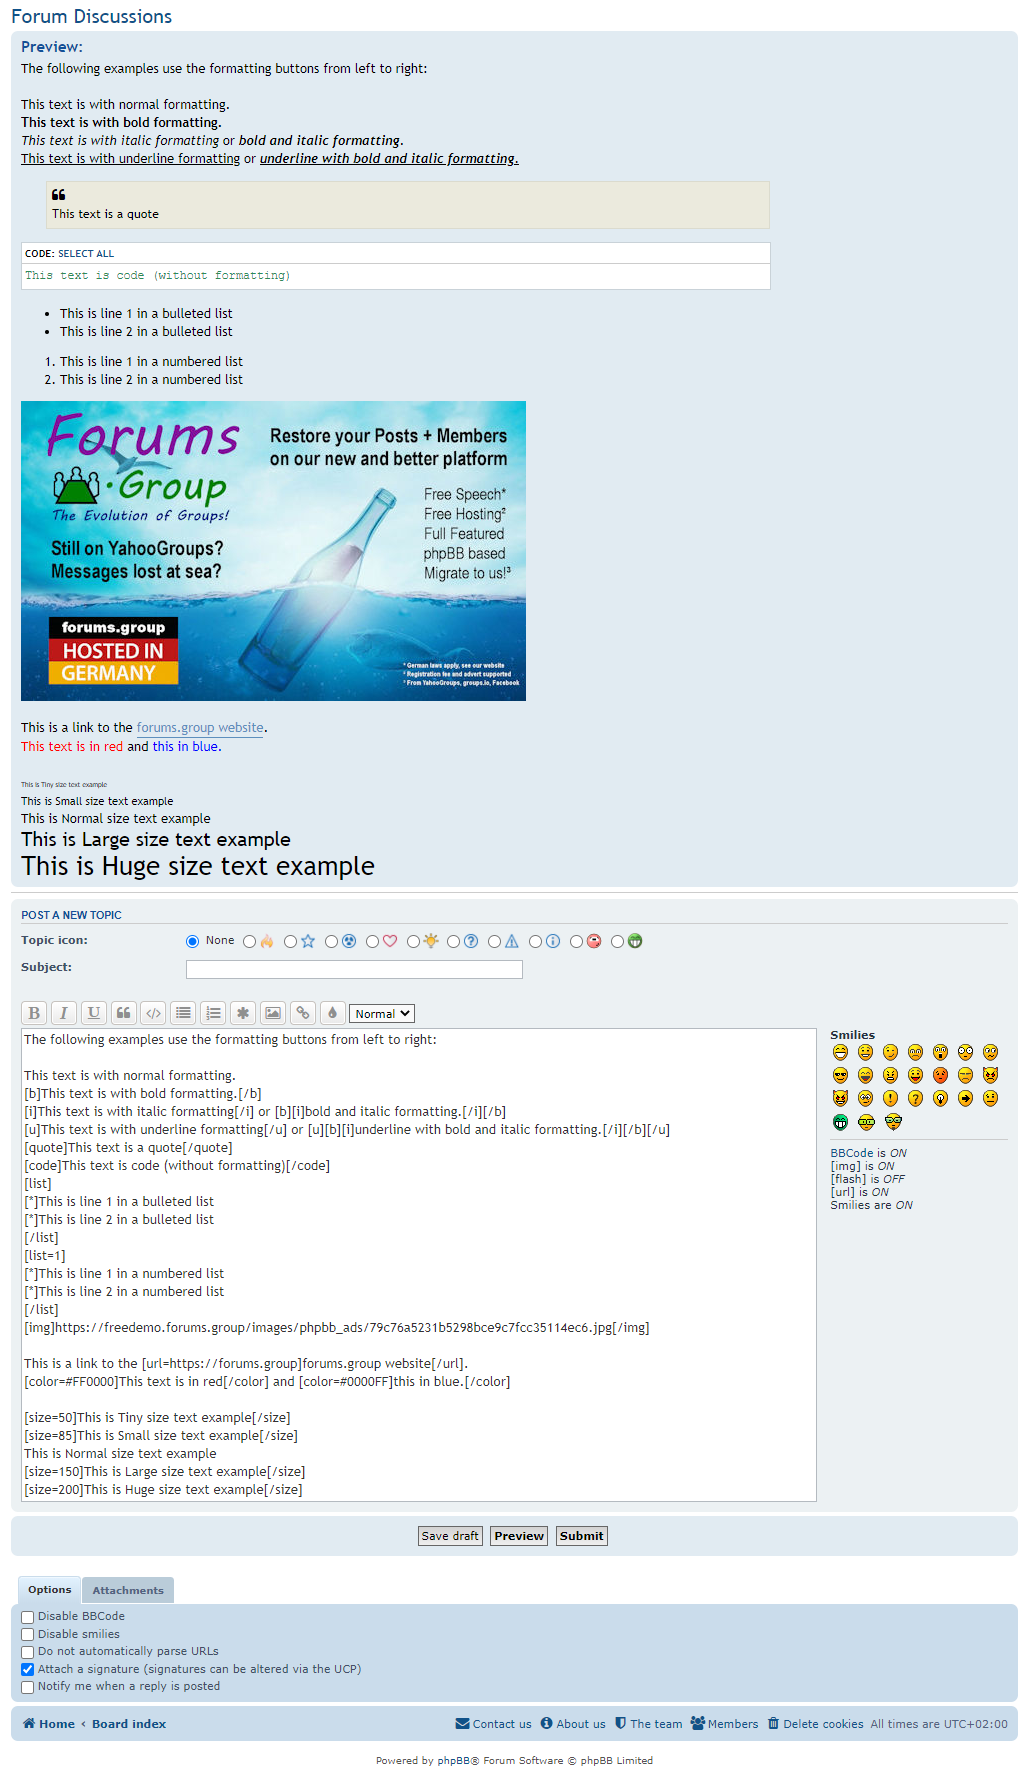
- Topic icon: The topic/post icon is a small icon that will display to the left of your post subject. This helps identify your post and make it stand out, though it is completely optional.
- Subject: If you are creating a new topic with your post, the subject is required and will become the title of the topic. If you are replying to an existing topic, this is optional, but it can be changed.
- Post Content - While not being labelled, the large text box is where your actual post content will be entered. Here, along with your text, you may use things like Smilies or BBCode. Content entered as HTML will be rendered as text, HTML input is not supported.
- Smilies - Smilies, or emoticons, are small images which can be inserted into your post to add expression emphasis. See Smilies for further details.
- BBCode - BBCode is a type of formatting that can be applied to your post content. See BBCode for further details.
Completing your post:
- If you want to continue writing your post later, click on 'Save draft' and it will be saved without posting.
- When you return, you can then use the 'Load draft' button to restore it.
- Click on the 'Preview' button to see exactly how your post will appear on the forum. This gives you a chance to correct any formatting errors before posting the final version.
- Once you are happy your post looks the way it should, click on the 'Submit' button to post it for others to see.
Using the text formatting buttons

Just above the large text box, there is a horizontal row of buttons that each have a function in formatting the text.
 = Bold Text: Select the text to be made bold and click on this button.
 Example: [b]This text is with bold formatting.[/b] - This text is with bold formatting.
 = Italic Text: Select the text to be made Italic and click on this button.
 Example: [i]This text is with italic formatting[/i] - This text is with italic formatting.
 = Underline Text: Select the text to be Underlined and click on this button.
 Example: [u]This text is with underline formatting.[/u] - This text is with underline formatting.
 = Quote Text: Select the text to be put in quotes and click on this button. If you add a name in the opening code, that name is given as the author.
Example 1: [quote]This text is a quote[/quote]Example 2: [quote=Peter Walker]This text is a quote[/quote]


 = Code Text: Select the text to be put in the code box and click on this button. This is useful when quoting commands or computer code.
Example: [code]This text is code (without formatting)[/code]

 = Bullet List: To create a bulleted list, first press this button and the following is displayed: [list][/list] and the cursor is located in the middle.
Then click thebutton to add an item [*] to the list which is followed by the text. Repeat this for each item (we recommend putting each item on a new line like this:
[list][*]This is line 1 in a bulleted list[*]This is line 2 in a bulleted list[/list]
Result:
- This is line 1 in a bulleted list
- This is line 2 in a bulleted list
Alternatively you can specify the list’s bullet style using [list=disc][/list], [list=circle][/list], or [list=square][/list]Note: This does not work with the WYSIWYG editor
[list=disc][*]Disc Bullet[/list]
- Disc Bullet
[list=circle] [*]Circular Bullet[/list]
- Circular Bullet
[list=square][*]Square Bullet[/list]
- Square Bullet
 = Numbered List: To create a numbered list, first press this button and the following is displayed: [list=][/list] and the cursor is located in the middle.
Add the number the list should start (usually 1) with after the = in the opening code, then add the items as above.
[list=1][*]This is line 1 in a numbered list[*]This is line 2 in a numbered list[/list]
Result:
- This is line 1 in a numbered list
- This is line 2 in a numbered list
 = Insert Image from the Internet: This is used to add an image from the Internet to your text.
 You can usually obtain the url of an image by placing the cursor over it, right clicking and selecting: "Copy Image address."The exact text displayed will vary according to the browser used and you might see "url" instead of "address."Now paste the url into the message box where you want the image to be displayed.Then select the entire url and then click on the image icon.Example: Using the image found at: https://forums.group/images/forums.group-hosted-germany.pngAfter selecting the text and pressing the image icon, you see this:[img]https://forums.group/images/forums.group-hosted-germany.png[/img]This will be displayed in your post:

 = Insert Link: Add a link (url) to a page. Paste the url to the page, select it and press this button.
 Example 1: Using the following url: https://forums.groupAfter selecting the text and pressing the link button, you see this:[url]https://forums.group[/url]Example 2: If you prefer a text to be displayed instead of the url, you can change the link to this:[url=https://forums.group]Visit the Forums Group Website[/url]
 = Set Font color: If you want to change the color of some text, first click on this button.
A grid of colours will appear above the buttons.Now select the text you want to change the colour of.Finally, click on the desired colour in the grid.The grid remains visible, allowing you to change the colours of multiple sections.Click on the button again to remove the display of the grid.
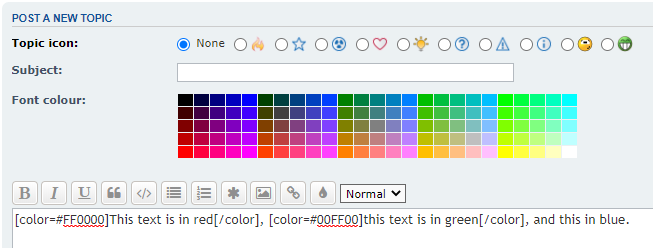
Example: [color=#FF0000]This text is in red[/color], [color=#00FF00]this text is in green[/color], and [color=#0000FF]this in blue.[/color]This text is in red, this text is in green, and this in blue.
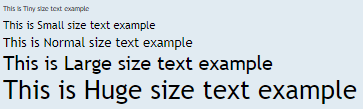
 = Text Size: Select the text, press this button and select the size you want.
Examples:[size=50]This is Tiny size text example[/size][size=85]This is Small size text example[/size]This is Normal size text example[size=150]This is Large size text example[/size][size=200]This is Huge size text example[/size]